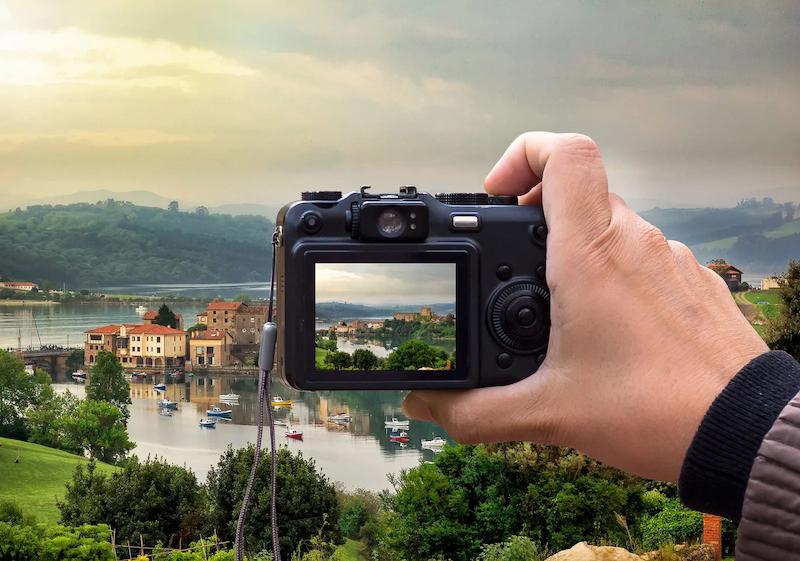
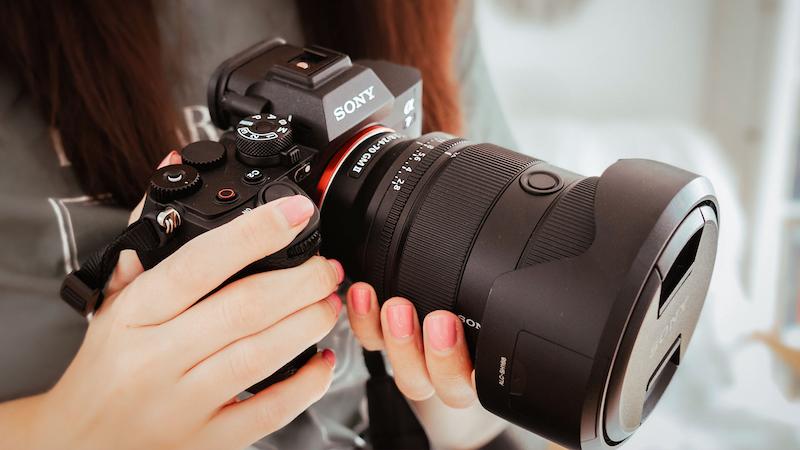
Using a digital camera effectively opens up countless creative possibilities. For beginners, mastering the basics of digital photography, especially with a DSLR camera, is crucial for capturing stunning images. In this guide, we will walk you through setting up your camera, understanding core settings, and taking creative control of your photography. By the end, you’ll feel confident in using your digital camera to its full potential.

What Is a DSLR Camera?
A DSLR (Digital Single-Lens Reflex) camera is a versatile and popular type of digital camera that uses a mirror and prism system to direct light from the lens to an optical viewfinder. This allows the photographer to see exactly what the lens captures in real-time, offering greater accuracy in framing shots. DSLR cameras are widely favored by both amateurs and professionals for their flexibility and control over image quality.
How Do You Set Up Your DSLR Camera?
Before you begin shooting with your DSLR, proper setup is essential. Follow these steps to ensure that your camera is ready for use.
Step 1 – Insert the Battery and Memory Card
Step 2 – Attach the Lens
Step 3 – Turn On the Camera
Step 4 – Set the Date, Time, and Language
Step 5 – Adjust the Viewfinder
What Are the Core Camera Settings?

Understanding the core settings of a DSLR camera will help you capture balanced, well-exposed photos. These settings work together to determine the exposure and quality of your images.
Aperture
Shutter Speed
ISO
How Can You Take Creative Control with Aperture, Shutter Speed, and ISO?
Once you are familiar with the core settings, it’s time to take creative control over your photos by adjusting aperture, shutter speed, and ISO based on the scene you’re shooting. Here’s how each setting impacts your images:
Aperture Priority Mode (A or Av)
Shutter Priority Mode (S or Tv)
Manual Mode (M)
Conclusion
Mastering how to use a digital camera can greatly enhance your photography skills. By understanding your DSLR’s core settings—aperture, shutter speed, and ISO—you can take control over exposure, focus, and depth of field. Start by familiarizing yourself with your camera’s features and gradually take control by experimenting with different settings and modes. Over time, you’ll develop the confidence and expertise to capture stunning photos in any scenario.
FAQs
What is the exposure triangle in photography?
The exposure triangle is the relationship between aperture, shutter speed, and ISO—three settings that work together to determine the exposure of your photo. Each element affects how light interacts with the camera sensor, and understanding their balance is key to mastering photography.
How does ISO affect my photographs?
ISO affects the camera sensor’s sensitivity to light. A low ISO, such as 100, is great for well-lit environments, producing clear, noise-free images. A high ISO, like 1600 or 3200, increases sensitivity to light but can introduce digital noise, particularly in darker environments.
When should I use manual focus over autofocus?
Manual focus is beneficial when shooting in low light, through glass, or when you want precise control over which part of the image is in focus. Autofocus works well for fast-moving subjects or when you need quick, reliable focusing without the need for adjustment.
