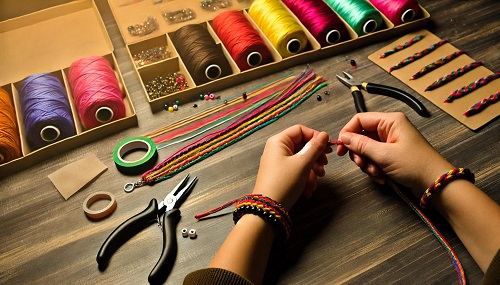
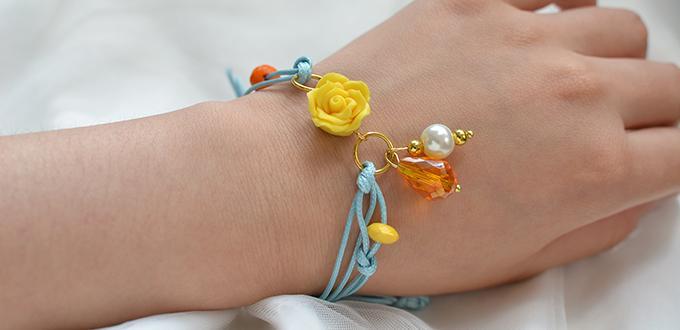
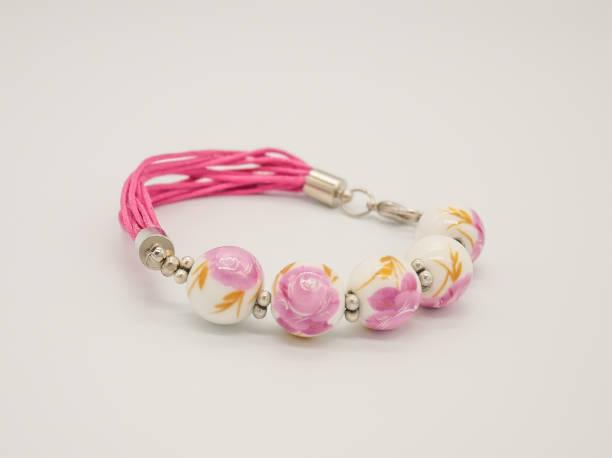
If you’ve been thinking about starting a new DIY jewelry project, learning how to make a wax cord bracelet is the perfect way to get your hands busy. Wax cord bracelets aren’t just beautiful, they’re durable, versatile, and eco-friendly. Best of all, they’re perfect for beginners and seasoned jewelry makers alike. By the end of this guide, you’ll be ready to craft stunning, customizable pieces for yourself or your friends!

In this article, we’ll walk you through everything you need to know—from the essential materials to step-by-step instructions—and we’ll share creative ideas to personalize your bracelet.
What You Need to Know About Wax Cord Bracelets
Wax cord bracelets have taken the DIY world by storm, offering endless possibilities for both minimalists and those who prefer bold statement pieces. But what makes them so popular?
First, wax cord itself is an incredibly durable material, often made of cotton, polyester, or hemp, that is coated with wax to enhance its strength and waterproofing. This gives the cord a smooth, slightly glossy texture, making it ideal for jewelry-making. Unlike leather or fabric cords, wax cord is resistant to wear and tear, and it doesn’t fray easily, which means your bracelet will last for years.
Another reason for its appeal is its eco-friendliness. Wax cords, especially when made from organic materials like hemp or cotton, align with the values of eco-conscious consumers. If you’re looking for a more sustainable alternative to synthetic materials, wax cord offers an excellent choice.
Materials for Making Waxed Cord Bracelet
Before you start crafting your wax cord bracelet, it’s essential to gather the right materials. Fortunately, you don’t need much to get started. Here’s a basic list:
1. Waxed Cord
Wax cords come in various thicknesses and colors. The thickness you choose depends on the style you want. Thinner cords are great for more delicate pieces, while thicker cords make bolder statements. Choose colors that match your personal style or try a multi-colored approach.
2. Clasp or Button
A clasp or button secures the bracelet around your wrist. You can use lobster clasps, toggle clasps, or simple buttons for closure. A button not only adds a rustic touch but also makes it easy to fasten.
3. Jump Rings and Crimps
Jump rings connect different parts of your bracelet, and crimps help secure the ends of your cord.
4. Scissors and Ruler
You’ll need scissors to cut the cord to the desired length and a ruler to measure the exact size for a perfect fit.
5. Beads (Optional)
To add some extra flair, you can include beads in your bracelet. Choose wooden, glass, or metal beads depending on your aesthetic.
6. Glue (Optional)
If you’re worried about securing the ends tightly, you can use jewelry glue to reinforce the knots and crimps.

Step-by-Step Tutorial: Crafting Your Wax Cord Bracelet
Ready to start crafting? Let’s break down the process step by step. For this tutorial, we’ll create a simple braided wax cord bracelet with a button closure.
Step 1: Measure and Cut Your Cord
Measure the circumference of your wrist and multiply that length by three. Cut three pieces of waxed cord to this length. For instance, if your wrist measures 7 inches, you’ll need three pieces of 21-inch cord.
Step 2: Tie a Knot
Hold all three cords together, and tie a simple knot at one end, leaving about an inch of slack for attaching the button later. Make sure the knot is tight and secure. This will be the base of your bracelet.
Step 3: Braid the Cord
Separate the cords into three strands and begin braiding them. It’s just like braiding hair—cross the right strand over the middle one, then the left strand over the middle one, and repeat. As you braid, ensure the tension is consistent for a neat finish.
Step 4: Add Beads (Optional)
For a personalized touch, you can thread beads onto the cords as you braid. Simply slide a bead onto a strand and continue braiding around it. You can space them evenly or cluster them for a more creative design.
Step 5: Secure the Ends
Once your braid is the desired length (about the circumference of your wrist), tie another knot to secure the end. Make sure the knot is tight so that the braid doesn’t unravel.
Step 6: Attach the Button
Thread the loose ends through the holes of your button, then tie another knot to secure it. This will serve as your bracelet’s closure mechanism. Make sure it’s secure before trimming off any excess cord.
Step 7: Test the Fit
Wrap the bracelet around your wrist, and loop the button through the space between the cords near the first knot you made. If the fit is good, you’re done! If it feels too loose or tight, you can adjust the size before trimming the excess cord.
And there you have it—a beautiful, handmade wax cord bracelet!

Design Ideas and Tips for Customizing Your Bracelet
One of the best things about making your own wax cord bracelet is the endless potential for creativity. Whether you prefer a minimalist look or something more extravagant, you can easily customize your bracelet to reflect your style.
1. Experiment with Different Braiding Techniques
Don’t limit yourself to a standard three-strand braid. You can try out macramé techniques, square knots, or even fishtail braids to add texture and complexity to your design. These techniques give your bracelet a unique and personalized look.
2. Mix and Match Colors
Wax cords come in a wide range of colors, so don’t be afraid to mix and match. You can create a simple two-tone bracelet by using two different colored cords or go bold with a rainbow design. The color combinations are limitless!
3. Incorporate Charms and Pendants
Adding charms or pendants to your bracelet is an easy way to infuse personality. Whether it’s a small seashell for a beachy vibe or a gemstone pendant for a boho touch, charms can add significance and meaning to your piece.
4. Play with Beads
Beads aren’t just for adding pops of color; they can also change the entire look of your bracelet. Try using wooden beads for a rustic, earthy feel, or metallic beads for something more modern and edgy.
5. Personalize with Knotting Patterns
If you’re comfortable with more advanced techniques, you can use different knotting patterns, such as square knots or half-hitch knots, to give your bracelet a more intricate and detailed appearance. Knots also add additional durability to your bracelet.
6. Layer Your Bracelets
Wax cord bracelets are perfect for stacking. You can make multiple bracelets in varying designs and colors to wear together. The layered look is not only trendy but allows you to showcase your craftsmanship.
Conclusion
Learning how to make a wax cord bracelet isn’t just a fun DIY project—it’s an opportunity to create personalized, eco-friendly jewelry that you’ll love wearing. From simple braids to intricate beaded designs, wax cord bracelets are both stylish and sustainable. So, whether you’re crafting for yourself or making gifts for friends, the possibilities are endless.
Now that you’ve got the basics down, why not get started on your first wax cord bracelet today? With just a few materials and a little creativity, you’ll be amazed at what you can create!
FAQs
Can I add beads to my Wax Cord Bracelet?
Yes, you can add beads to a wax cord bracelet. Make sure the bead holes are large enough to fit the cord. Waxed cord is sturdy and can hold various bead types like glass, metal, or wood for added texture and design.
Can I mix wax cord colors in a single bracelet?
Yes, mixing wax cord colors in a single bracelet can create a vibrant, personalized look. You can blend multiple colors for patterns like stripes or braids, adding visual interest and making your bracelet more unique.
What is the best knot for a waxed cord bracelet?
The best knot for a waxed cord bracelet is often the sliding knot. It allows for easy size adjustments and holds securely, making it both functional and decorative for your bracelet.
